Showing posts with label DIY. Show all posts

Monday, June 24, 2013

Isla's 'Come Watch Me Grow' DIY 1ST Birthday Party

My sweet girl turned one twenty days ago! I still can't believe she is one. The thought of saying 1yr, verses 7, 9 or 11 months is daunting. I just got used to not saying her age in weeks and now I'm moving away from months. They grow so fast... and thus the whole theme of her party was around growing! The invitations were filled with flowers and pictures of Isla and we carried the theme of those bright flowers throughout the party decor.


We used a lot of green, pink, orange and blue. The best thing about the party is nearly everything came from the Dollar Tree, and the things that didn't come from there came from Oriental Trading where I got a great deal on sale items. 

I ordered a pack of paper and made the banner out of ribbon left over from my baby shower. Once I had my triangles cut, I hot glued them to the ribbon and placed my letters in the middle. To finish them off, I used a cute scrap paper flower with a button glued to the center.


I also used the paper on the tables to give the decor a pop and also to catch any messes from food and drink spills. It made for a much easier clean-up.


I cut even smaller triangles and used them on the gift table to spread around like confetti and used the paper to make a custom sign made from stickers I also found at the dollar store. I paired the sign with some cute shoes of Isla's that matched the party theme.


Since the theme was around "growing" I used some left over flower cup cake holders and made some flower toppers using a green tooth pick, green foam paper and colored foam paper for the actual flower portion. For the flower, I traced Isla's hand print. I hot glued the flower/hand print and a green leaf to the tooth pick. I also used the foam paper to make a large number 1 for the top center piece. 


Since I knew Isla would not remember this day, I took lots of pictures and also made a Shutterfly photo book for guests to sign. I left the first two pages of the book blank with the words "Isla's First Birthday Wishes" and then asked all of our family members to sign their messages and birthday wishes for Isla. I'm looking forward to giving that to her some day, especially since her Great Great Grandma Saft came who is 103! So amazing and blessed to have so many generations under one roof.

I took Isla's picture in the same frame that we used in the photo booth at our wedding every month in the exact same outfit to show how much she is growing and changing month over month. It was astonishing to see the difference from 1 month to 11 months. I then displayed the pics in the frame using ribbon and clothes pins for the party. I love seeing all her expressions and smiling face month over month.


We used pictures to decorate a lot for this party. I lined the buffet table with my favorite prints and had my husband create a collage in the shape of a 1 on our dining room mirror. Nearly all the things I did were inexpensive ideas using things I already had at home.


 The other big DIY project I did for pennies was making a 1 out of card board and tissue paper. I used tissue paper I had left over from my own baby shower and a card board box. I broke the card board down using a razor and then cut it in the shape of a 1. I then took tissue paper and folded it back and forth making creases throughout, bound it tightly with a wire and hot glued it to the cardboard. Once it was secured on the card board, I separated the tissue paper and made it poof out. I loved the end result and we actually ended up using it as a photo prop for her 1 year pictures. 


I made several signs using pixlr, a free service online. One of my favorites is in her nursery now and it calls out all the cute nick names we have for her. 

My friend Kristen also made this amazing sign that has all of her favorite things and measurements at 1 year old. This is a definite keeper along with her profile pictures made from paper.


Overall it was a fun, inexpensive party and I think she had a blast! She especially loved her watermelon and cupcake!

Here are some additional pictures from the party!


Sunday, April 14, 2013

DIY Baby Bicycle Mobile


There are so many options out there for baby mobiles. It used to be your only choice was through a baby store and something more commercialized… not with the explosion of DIYers on etsy and creative moms everywhere the possibilities have become endless. 

For Isla’s nursery we took an uncommon route. We used a colorful leaf windchime in place of a mobile. We decided to hang it above the window, verse directly over the crib though. 

With the announcement of my sister-in-law’s pregnancy, I had a new reason to get in touch with my DIY skills again. The theme of the shower was bicycles, so to remain within that theme and pull it through to the nursery; I decided to make the mobile bicycle focused. 

Now, one thing I’ve learned from looking into making mobiles for my own daughter and making this one is that it can get expensive! Materials add up and often what you think will be an easy project turns out to be more difficult than your original plants, but I can confidently say that this was an easy DIY mobile project and the end result (in my opinion) is adorable!

Ok, for starters I had to determine what I would use for my base. At first, I was thinking of using a bicycle wheel, which is doable, but based on the size of the ones available to me and the weight, I decided to go with a bike gear instead. Another option would be an embroidery hoop which is also very easy to use, light weight and inexpensive. 

I cleaned the bike gear with steel wool and purchased spray paint from Wal-Mart to give it a fresh coat of paint.


For the charms hanging down (the main attraction for the baby) I wanted to use something light weight and safe. While perusing Jo-Ann's site, I uncovered these wood flourishes, often used for scrap booking, and immediately purchased! They were on clearance too, which really nudged me to purchase.


I used spray paint to make the mobile colorful, vibrant and match the shower colors as well.
I found this red and white stripped twine at Target in the dollar bin and used it to string the bicycles, penny farthing bikes and diaper pins from the gear. I also used it to string the mobile to the ceiling.

In the end, we made a very cute addition to our baby shower decorations and also something that can be used in the nursery. I love the variations of bicycles and the tiny penny farthing bikes!


Tuesday, October 23, 2012

Baby Photo Prop Ideas


I have been taking pictures non-stop since my husband gave me a professional camera for my birthday/mother’s day/anniversary/push present (ha!) this year. It’s become a hobby of mine and Isla is always my subject. I love taking pictures of all of her facial expressions and capturing the moment. I have really enjoyed going back and looking through her changing expressions and growing little body.

We used to have a photo shoot every morning when she woke up. That’s when she is the happiest and also when we would have the best lighting in our bedroom. Since I’m back at work and it’s now dark when we wake up, we only take pictures on the weekends. I’ve had so much fun using props, positioning Isla and thinking about ways to capture her growth.

Our first prop and the one we have continued to use on a monthly basis to track her growth was the picture frame. We used this frame in the photo booth at our wedding and it was such a hit. After the wedding, I wasn’t sure what I would do with it, but once Isla came along, it had a new purpose. She has been growing so fast that she will soon be overlapping the frame! I love looking back at the first few weeks and seeing what a difference it is from now to then. 


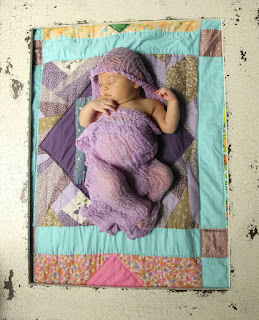
Another thing we used was a wrap that we used for her newborn pictures. We've wrapped her in this same cloth for several months and seen how much her tiny (and chubby) body is changing.

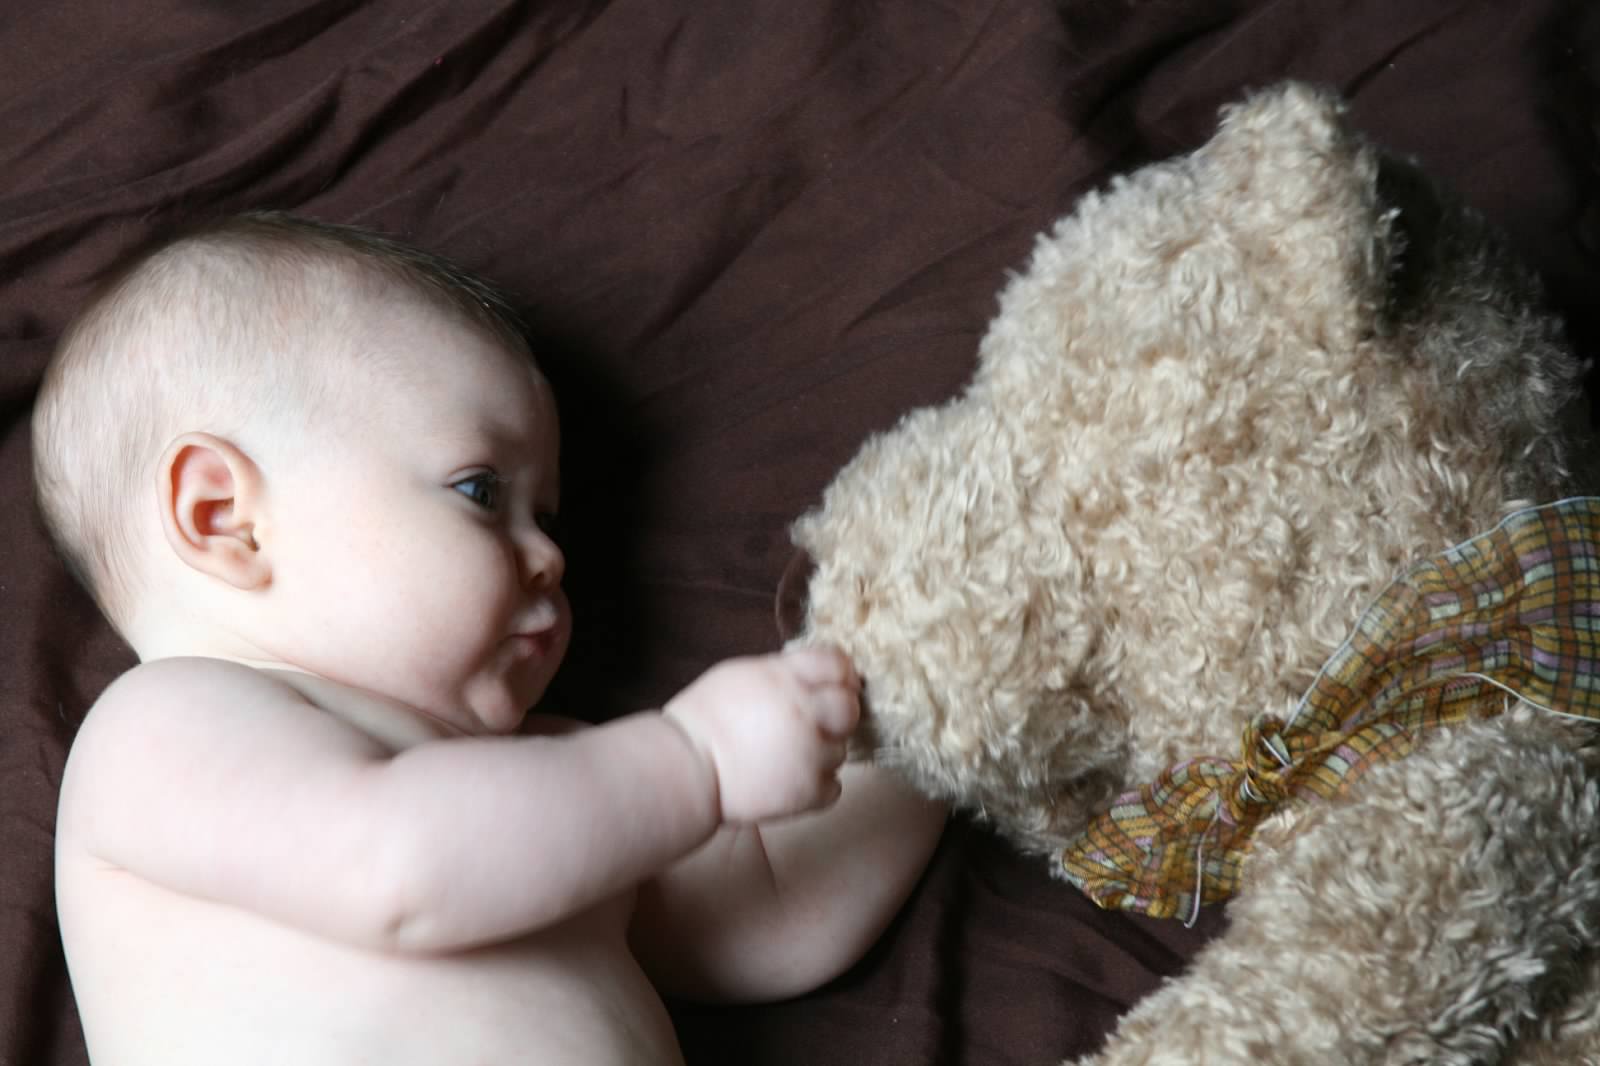
I’ve seen a lot of other cute ideas to track monthly growth on Pinterest such as, putting your baby in a clothes basket, laying your baby beside the same stuffed animal, the month stickers that can easily be stuck on any onesie, and many more. We didn’t plan on doing the frame, but after our newborn photos I fell in love with it and decided to keep doing it. 


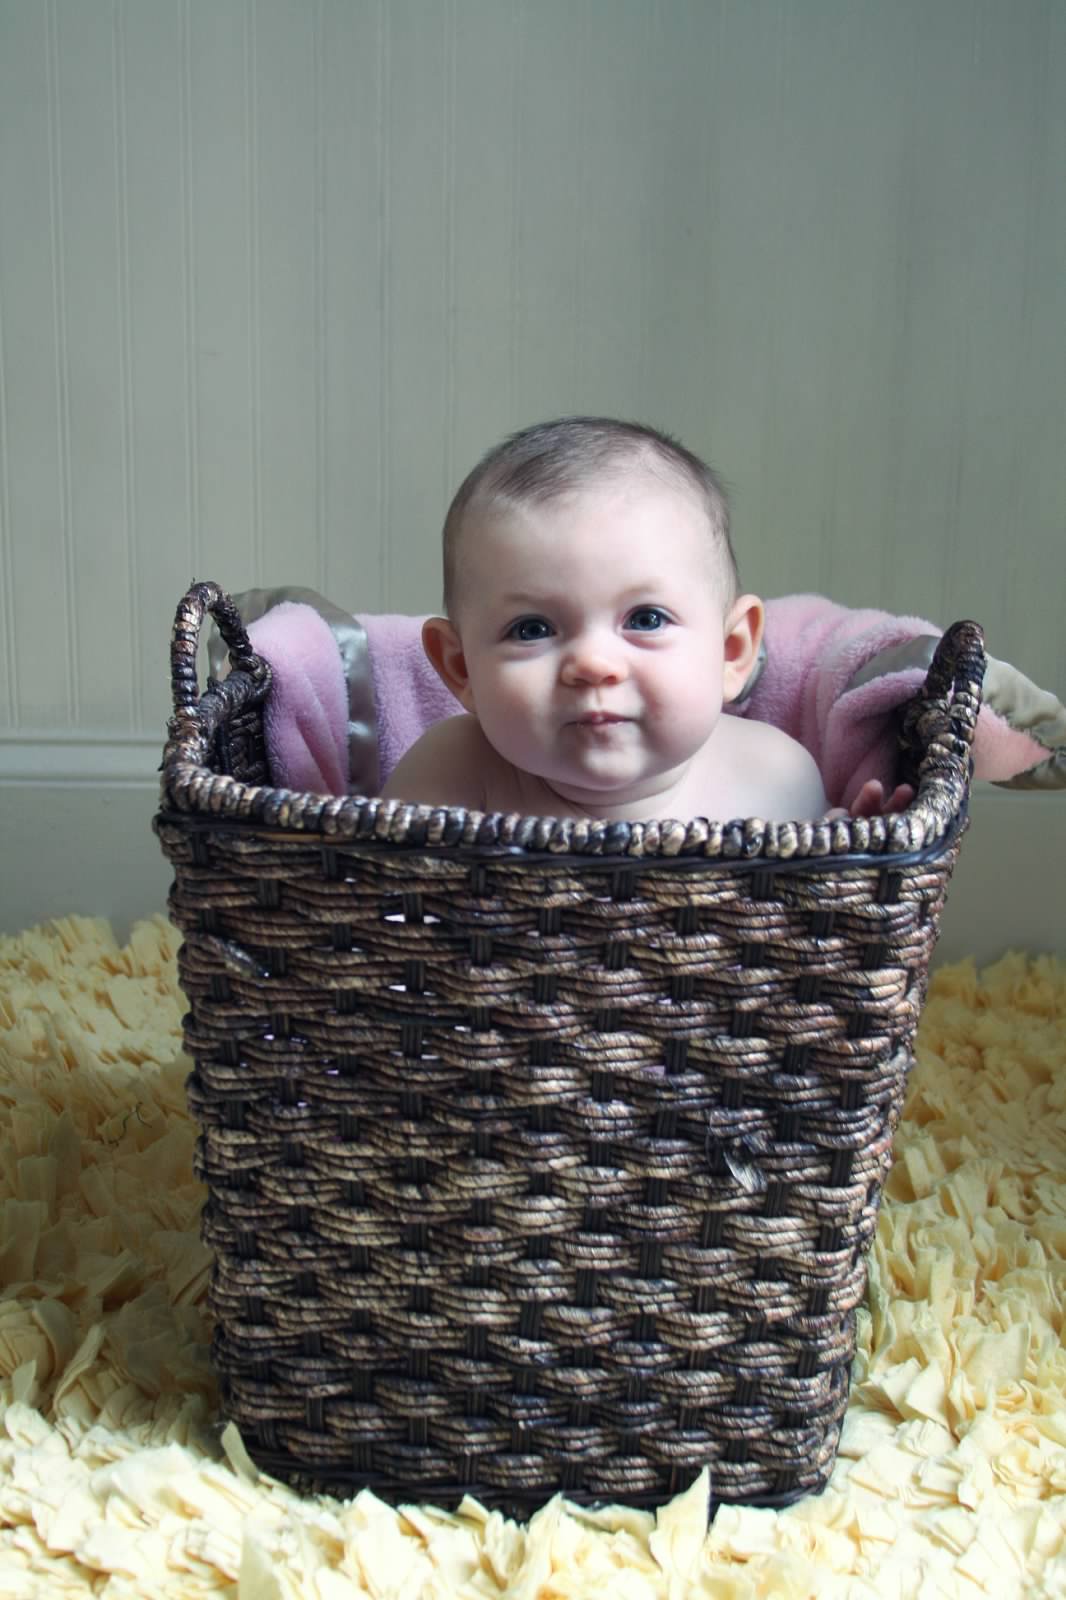
Another one of our first props was an old bucket we were using in the house to stack magazines in. Isla fit down in it perfectly with some nice plush cushioning from a blanket. This isn’t one we can keep using as she has already grown out of it, but she loves sitting down inside baskets or anything that gives her extra support. I can tell when I prop her up to a sitting position, she knows she is doing something special and I can see the delight in her facial expressions. 

We’ve since taken her pictures in a hamper basket, picnic basket and a decorative basket. She looks so cute with her little head peaking out. 

Once she’s sitting up more on her own, I want to take her picture sitting down in a hat box we used for cards at our wedding. I plan to put one of my big floppy hats on her and sit her in the round hat box. I know there will be a lot more options once she is sitting on her own.

Another idea is to use vintage items or heirlooms. We have a stool passed down from my great grandmother and we used this in a couple newborn photos. We also have several exquisite quilts my grandma made for me and I’ve used these as a backdrop. It’s special too because my grandmother loves to see pictures of Isla on the quilts she worked so hard to make. It warms her heart to know these items will continue to get passed down and cherished.

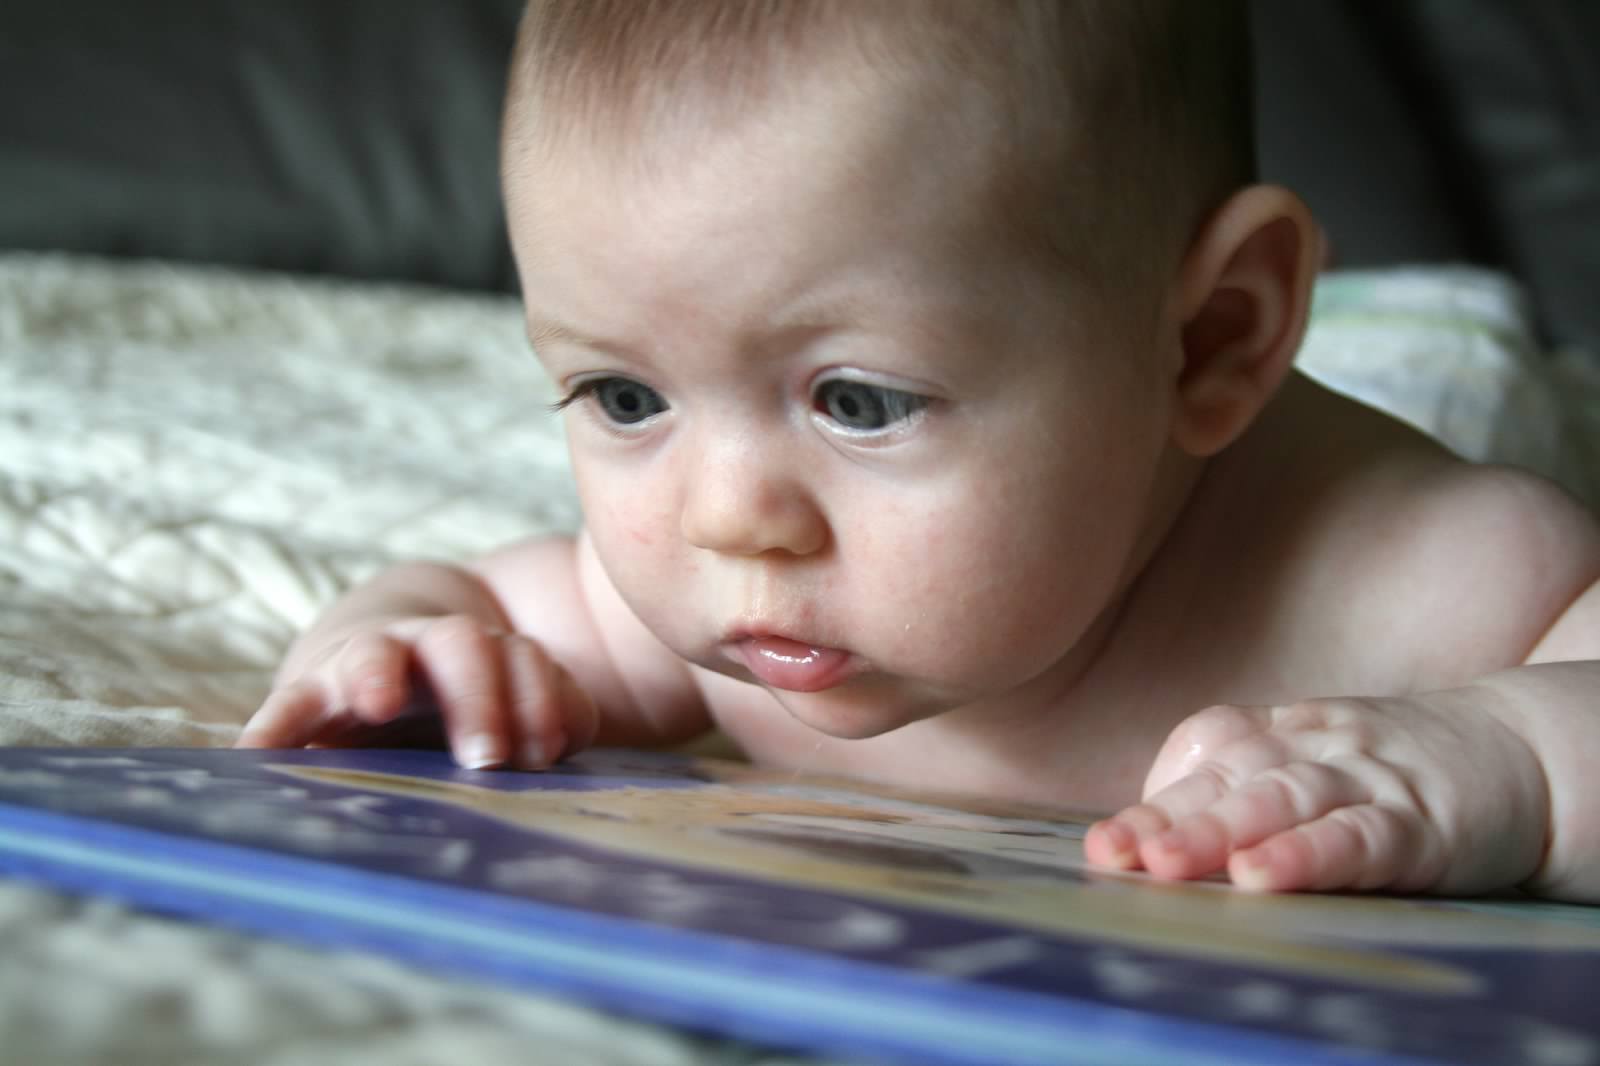
I also love to use books. Isla loves for me to read to her and she loves looking at all of the colors on the pages of the books. I love laying her next to a book and watching her as she makes curious faces. It makes such cute pictures. 

All of the props I have used have been things we already had lying around the house. I love that they all have a double purpose and now when I look over at the basket holding our blankets or my grandmother’s blanket, I think of Isla. I see her in everything around the house.


Daily Boutique Deals